
Courtesy of Obelisk Hill and Arcadia Park Landcare; Written by Ben Heslop, illustrations by Annalese Johnson
This planting guide is drawn from internet sources and personal experience in Landcare. Before starting, ideally, a layer of mulch will have been present for a couple of weeks to improve the soil. Avoid mixing soil with mulch or the plant be stressed by hotter and drier roots, and competition with weeds.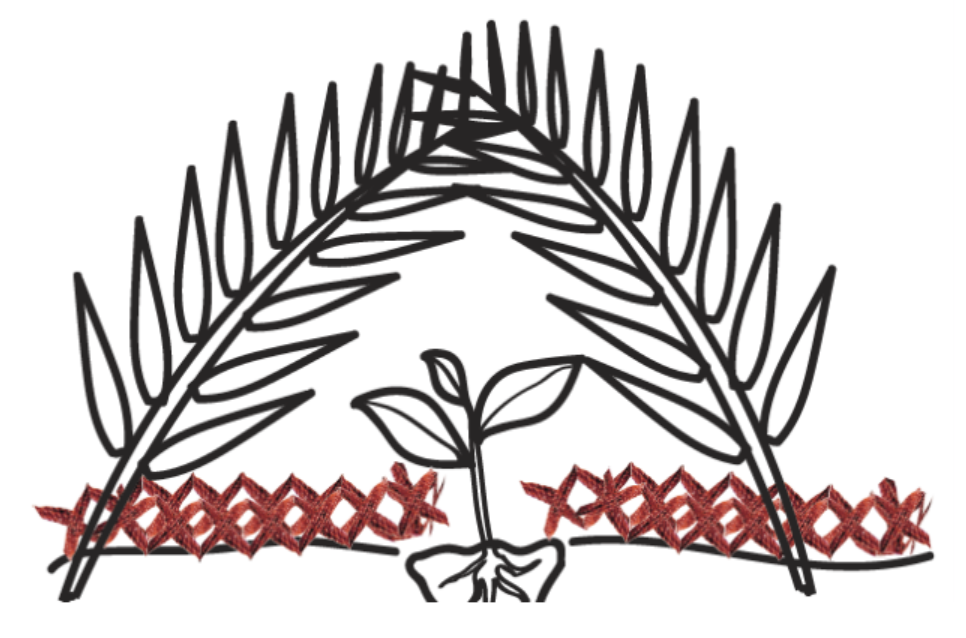
1. Before choosing a location, ensure the plant will be able to tolerate the sunlight.
• Rainforest plants will die in direct sunlight unless watered often.
• Sun shelters can be made from leafy branches or thick limbs.
• Palm frond bases buried so the thick bases are standing over the plant can be a good option as they are wide, light and curve over. three in a tripod will be stable if wrapped with string.
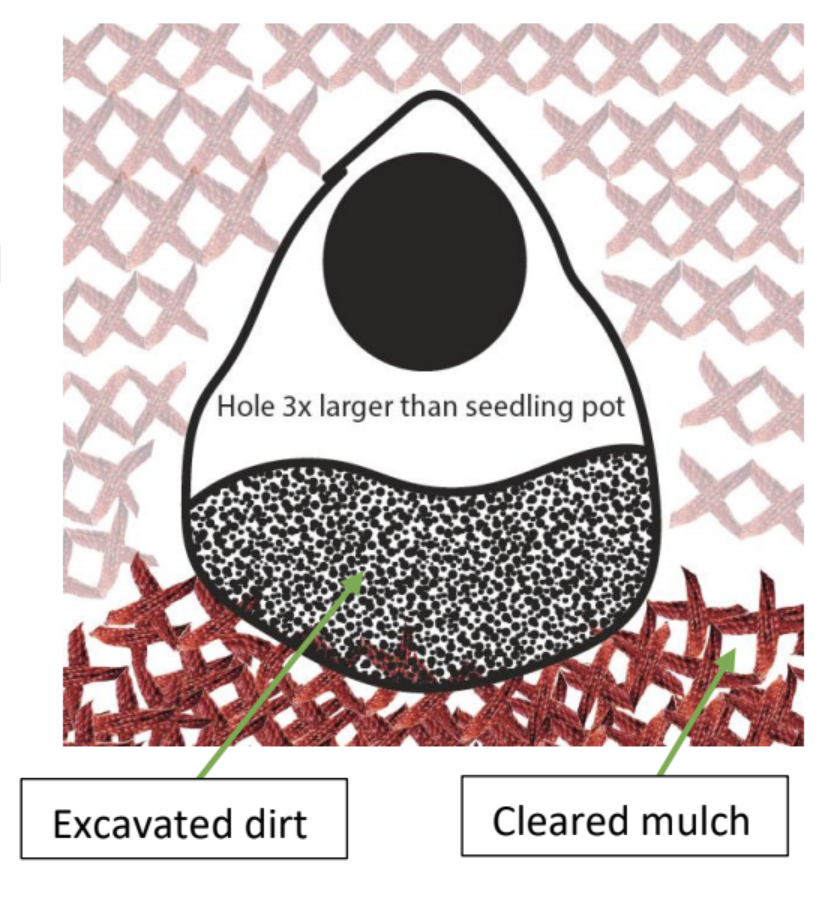
2. Once a spot has been chosen, first clear a large area of mulch in a teardrop shape, with the intended hole in the corner of the teardrop.
• This creates a ‘landing pad’ for soil to be placed when the hole is dug.
3. Dig a hole three times the size of the seedling root ball.
• If the hole has been pre-drilled, it may be too deep or partly collapsed.
• Try to minimise any mixing of mulch and soil by digging carefully, rather than with so much force so that soil sprays
everywhere.
• If the soil is rocky or clay, use a large mattock to save time and your patience!
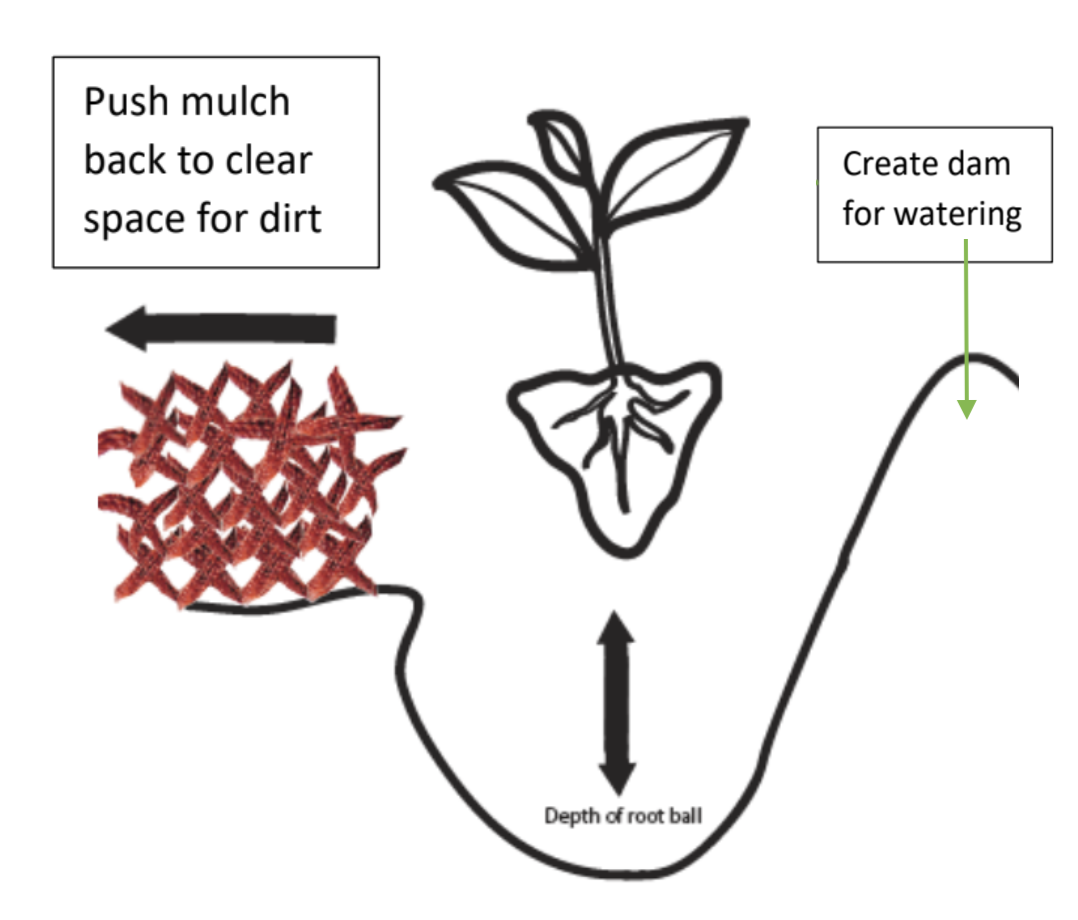
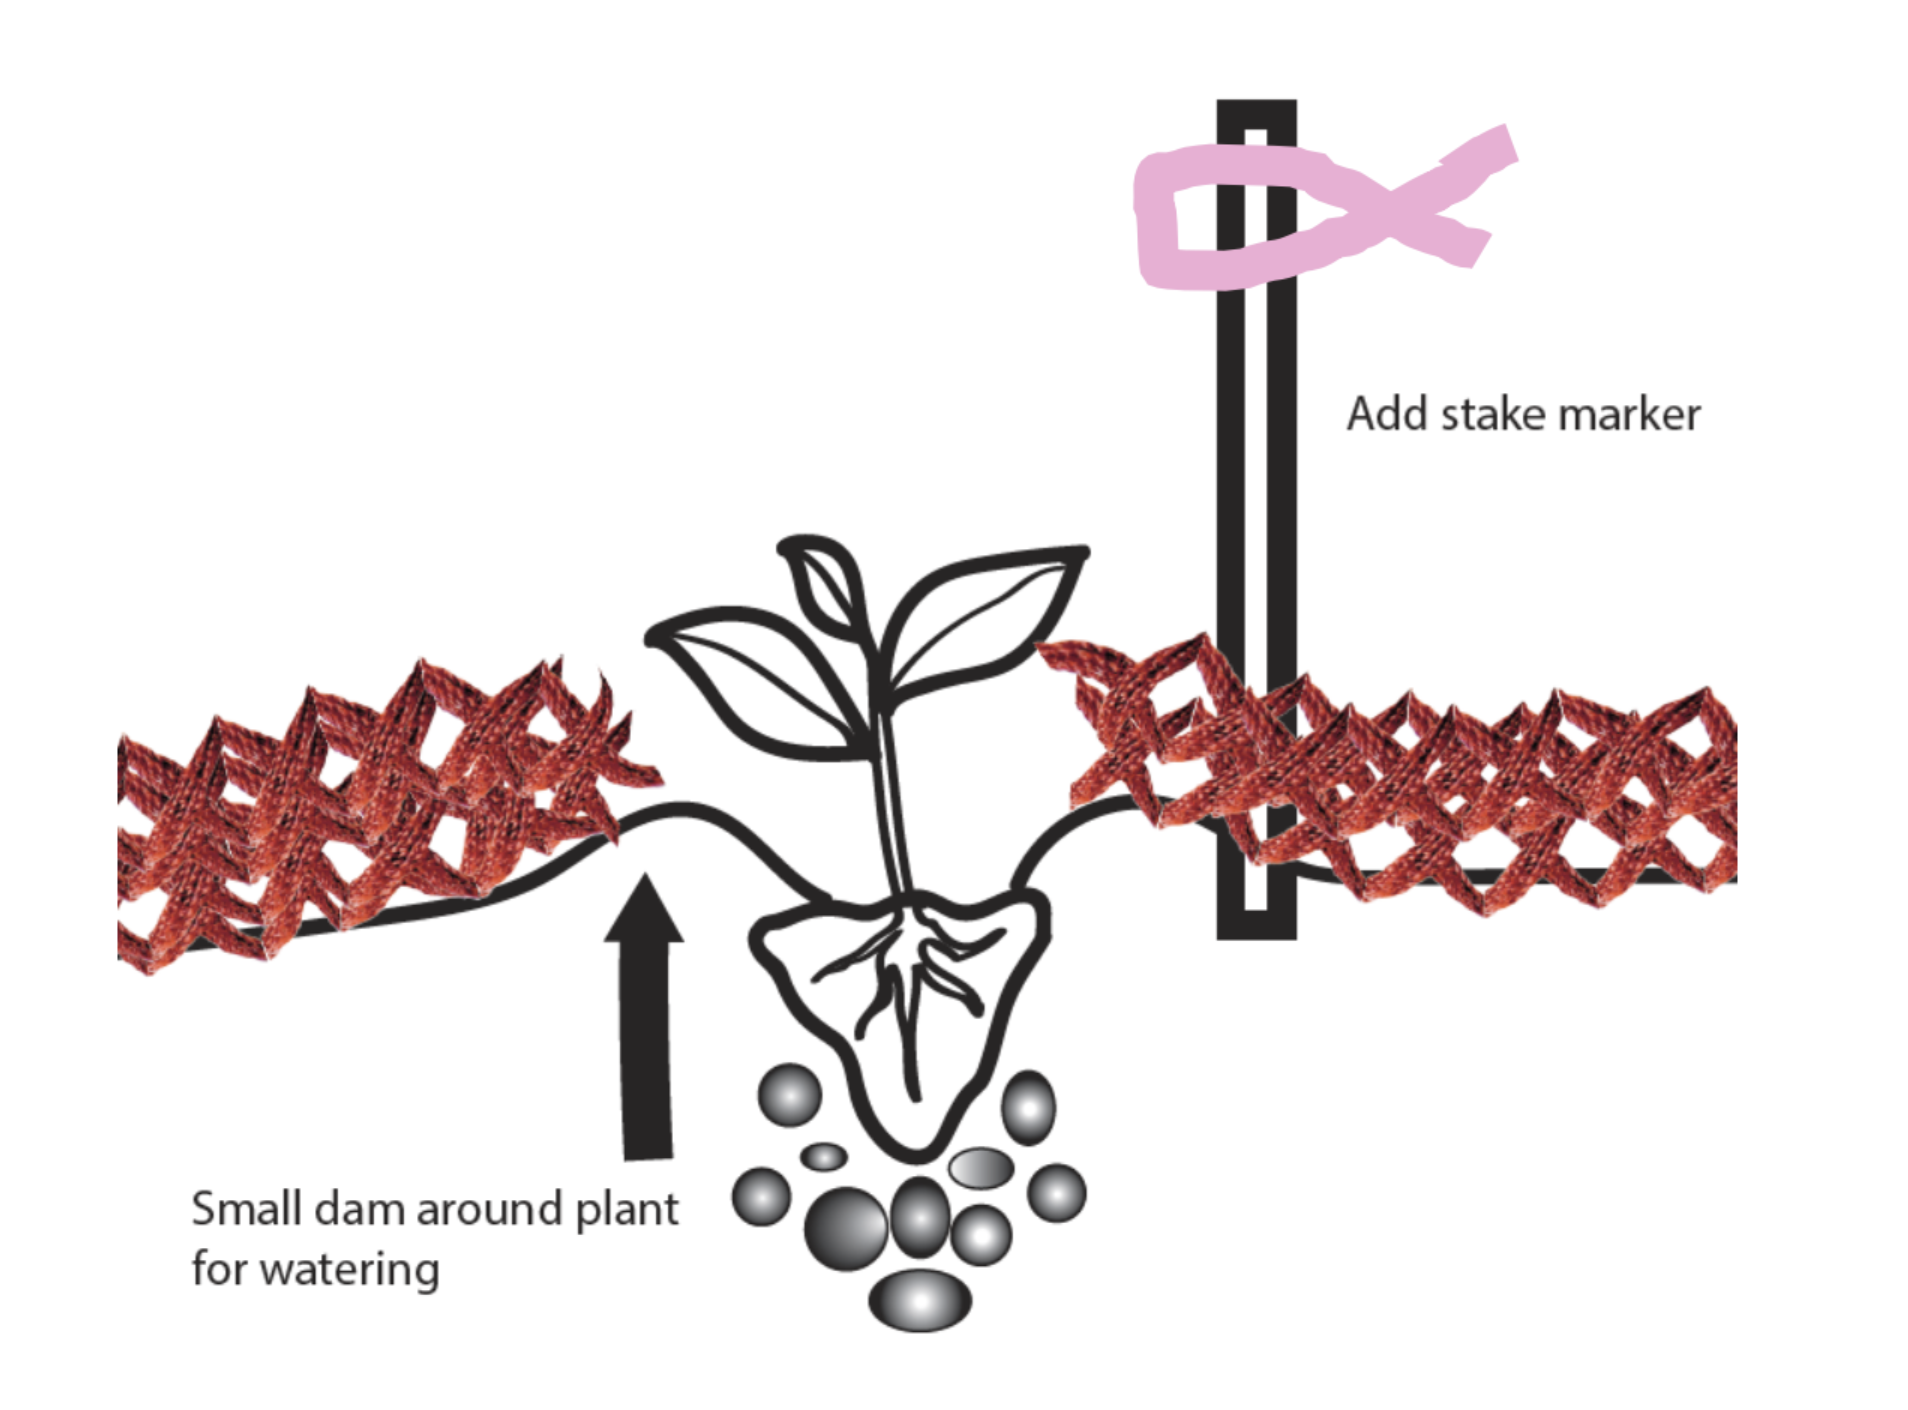
4. Build a dam around the plant to hold water when watering.
• If on a slope, dig into the slope to ensure the hole will be horizontal, or even tilted slighted towards to back
5. Place water crystals in the bottom of the hole.

• If water crystals are pre-moistened, use a heaped tablespoon.
• If water crystals are dry, use half a flat teaspoon and ideally water the hole before planting.
• Double or even triple water crystals if the plant will face high sun and low soil moisture.
6. Extract root ball from container.
• Squeeze the bottom of the container.
• Turn upside down and tap the bottom of the container lightly (this works best for younger plants without many roots).
• For large root balls, rap the top edge of the upside-down container smartly on a rock, stump or mattock.
7. Place plant into the centre of the hole level with surrounding soil
• Add more soil to the bottom of the hole if too deep.
• Remove soil from the bottom if too shallow.
8. Pack soil around the plant, pressing firmly with fingers, but not so firm that the soil compacts.
• Find better soil from elsewhere if there is not enough available from the hole that was dug
• Use soil that can be crumbled, not rocks, clay, plant matter and woodchips.
9. Push mulch back around the plant to achieve a layer 5cm or 2 inches thick and 15 – 20 cm radius.
• Steal mulch from close by to achieve this thickness.
• If on a slope, and a flat area has been excavated (Point 4) try to build the mulch back up to the slope’s level so there is no exposed
wall of dirt behind the plant (which may affect plants above).
10. Mark plant so that it is visible for watering and not stepped on.
• White painted bamboo stakes are easy to place, but not as visible.
• Large twigs are more visible but harder to find and place.
• An upside-down container or ribbon improves visibility.
11. Water plant thoroughly, generally 10 secs with a hose.
• Don’t water until the mulch has been placed (previous step) to reduce soil erosion and mixing dirt with the mulch pile.
• To reduce soil and mulch disturbance hold your fingers over the hose end to turn the stream into droplets.
12. Spot watering is more time consuming but gets more water to the roots.
• Unless leaving in one place for over 30mins, don’t use a sprinkler.
• When using a sprinkler, soil moisture can be checked by digging a test hole.